How to Inspect a Roof
Do you remember the last time you had a roof inspection? If you don’t then you’re not the only one! Inspecting your roof is something that is easy to forget when it comes to the general maintenance of your home, but that certainly doesn’t make it any less important.
Experts recommend you check your roof at least twice a year and especially after big weather events. But what exactly should you look for? Well, Avenir Roofing Supplies have come up with a little checklist for you, so that you don’t forget any important steps to go through when giving your roof the attention it needs.
Step 1 – Initial Inspection
Start by taking a walk around your home’s exterior. Inspect the roof from the ground and take notes as you go. Write down any problem areas you spot and any signs of damage or ageing.
You may find that you have paperwork for your roof that includes a plan or outline diagram. This is helpful, as you can write notes around the sketch, so that you know exactly where the problems are.
Step 2 – What to Look For
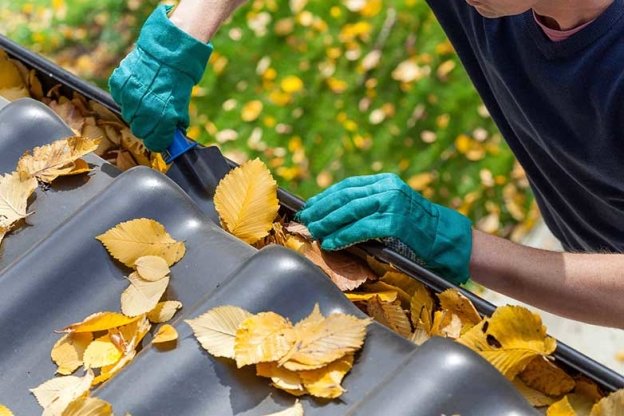
Look for any build-up of moss, algae or leaves. These can cause serious water damage or leaks, so they’ll need to be removed as quickly as possible.
If you have a shingled roof, look for any missing shingles. It is also important to check whether any shingles are buckled or curled.
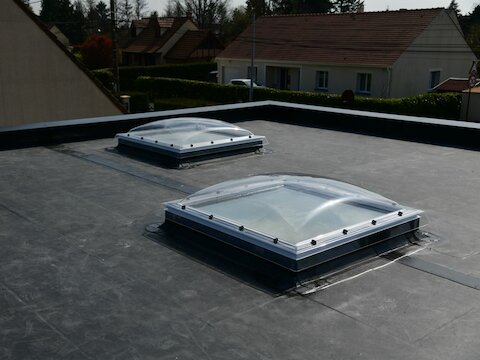
If you have an EPDM roof, you may not be able to see any damage from the ground: so, check the trimming and any part of the rubber you can see, for any damage.
Finally, look at your guttering system. Are any pipes clogged or damaged? Do any parts need replacing? This is essential for keeping your roof well-maintained.
Step 3 – On Your Ladder
The next step in your inspection is to get that ladder out and have a closer look. Make sure you are physically able to do this and that you have someone with you to spot. Remember, roofs can be very slippery if it has been raining.
When up, close and personal with your roof, take a look at the flashing and where the roof joins the chimney etc. Check for any damage or ageing.
If you have a shingled roof, check the surface of the shingles to make sure they haven’t lost their texture. If they have, they are ready to be replaced.
If you have a rubber roof, like Firestone RubberCover, look over it for any blisters, holes or scrapes.
Lastly, check your guttering again. There may be things you weren’t able to spot from the ground.
Step 4 – Check Your Attic
After you’ve had a good look around the exterior of your roof, it is useful to check your attic for any signs of damage. Check for any damp, or anything that looks unusual and make a note of it.
After you’ve completed these steps, you can begin making any repairs and replacements you may need. If you are unsure of anything, call a professional.
More articles from our blog…
RCI Show Exhibition 2023