How to Install Gutter Trims
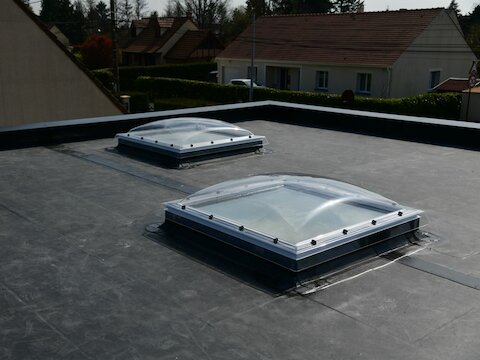
Manufactured from durable PVC, RubbaTrim is a strong and rigid solution that makes for a perfect finish of a single-ply flat roof and the EPDM provided by Avenir Roofing. Used for a roof edge where water is to drain into a gutter, RubbaTrim gutter trims are ideal for directing water towards the gutter edge. So, if your roof is having waterproofing problems, you may need to know how to install gutter trims. Here’s a step-by-step guide that shows you how.
Step 1
These trims are designed to be installed onto a flat roof with no arris rails in place.
Secure a roofing batten (25mm × 50mm) to the perimeter, ensuring that it is level with the decking.
Step 2
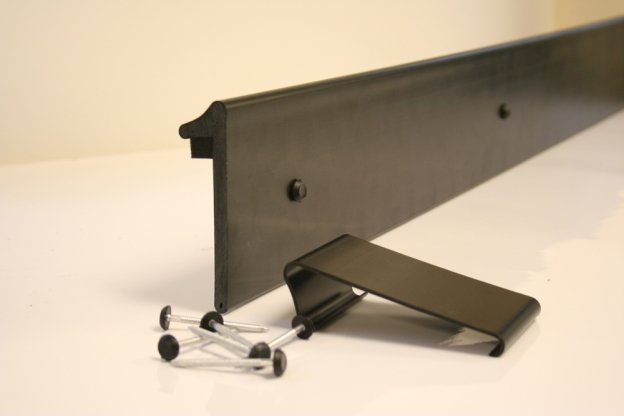
Align the top of the base plate approximately 5mm below the top of the drip batten, ensuring that the lip is at the bottom and pointing away from the roof.
Secure with plain ring shank nails. It is advisable to leave a small gap between adjoining sections to allow for expansion/contraction.
Step 3
Dress the membrane over the base plate.
Ensure that the fixing holes will not align with those on the base plate, pull rubber taut and secure the top plate with the supplied coloured polynails. Ensure that the fixings are installed through the centre of the elongated slot to allow for expansion and contraction.
Step 4
It is advisable to drill a pilot hole in the base plate prior to fixing the top plate. The unique design will neatly sandwich the membrane in place. Install joining pieces as required and secure with mastic or polynails.
More articles from our blog…
RCI Show Exhibition 2023