How to Install Roofing Edge Trim

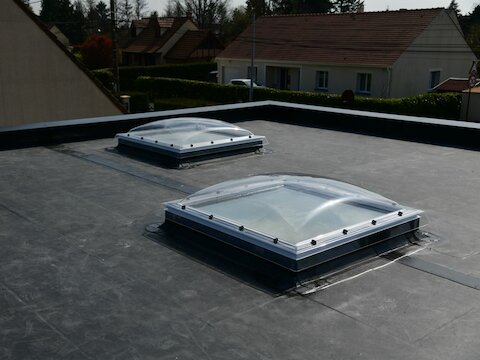
Are you looking to achieve an attractive flat roof that also performs to the best of its ability? If so, you may need to invest in some roofing edge trim. RubbaTrim edge trim is designed to be used for a roof edge that is not attached to a wall and does not drain into a gutter. Roof edge trims make sure that moisture doesn’t seep into the felt and cause condensation or damp issues. Here’s a step-by-step guide that shows you how to install roofing edge trim.
Step 1
Dress the membrane over the pre-installed drip batten. Compress trim and carefully secure in place with the supplied coloured polynails.
Step 2
Ensure that the fixings are installed through the centre of the elongated slot to allow for expansion and contraction.
Step 3
It is advisable to leave a small gap between adjoining sections to allow for expansion/contraction.
Use corners to finish.
For more information about our products and general tips and advice about roofing, visit the rest of our blog.
More articles from our blog…
RCI Show Exhibition 2023